Saturday, December 24, 2011

Finished Projects

The boys are up!  Christmas preparations will soon be underway!

Here is Project 2, the triptych.  The title missing from this one is The Anxiety Altarpiece.  The mixed patterns are supposed to be anxiety inducing.  :D


These pictures were taken at 7:30 yesterday morning- a half hour before it was due.  It was appropriate, I think, that my last night in college was an all-nighter.


The quote is: "It doesn't get better.  YOU get better."  I'll get some better pictures when I finish my copies, but the last page has the colophon and a tiny car ornament.  And check out my spectacular mess!


It is meant to stand up so that when I wake up in the middle of the night freaked out and convinced that my life is a mess and I suck at everything, I can open this up and remind myself that life will always be messy- it's my response to it that matters.


Here is the 3rd project- the accordion fold.  I barely finished these things in time.  My copy will have a title, but now imagine this says:

AIBOHPHOBIA (fear of palindromes)


Randomly selected scrapbook paper to connect the cover to the real pages.


I thought "WOW" should not be as boring as the rest of them, so I used this patterned mylar sheet on top of yellow cardstock.  The light is pretty orange, but the letters are cut from purple cardstock.


Not actually a palindrome, but a visual palindrome.


Vertical palindrome


One of my favorite designs out of the series


Was this intentional, namers of Tylenol?


It just felt right to have this sentiment last.


More random scrapbook pages.  I used the same colophon for both projects.  (Timesaver!)


The End

Black Rock Press

Chris came into school with me to document this neat place and the lengthy process involved in using the printing press.

Find a lead for the length of your line.


I'm setting type for my colophon, which is essentially the end credits.


Back for more leads to go in between the lines.


Setting type


I have added spaces to the ends of the lines but there are still gaps, so I'm adding thin brass and copper pieces to make it tight.


I put those lines on my galley and go back to set more lines using a different type.


Once that's done, I move all the type to my galley.


It's time to make a proof.


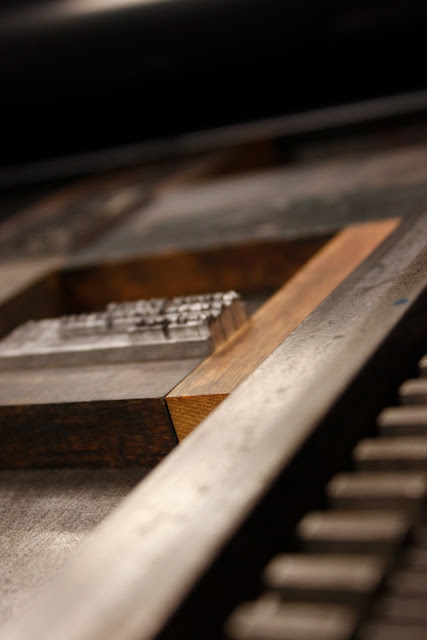
I use wooden blocks called furniture to hold my type up and magnets to keep them from moving.


Get some fresh ink


and ink up the type.


Ready to roll it through the proofing press


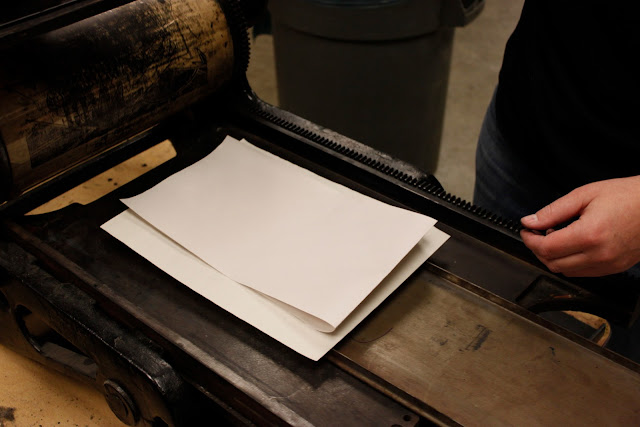
Lay on three sheets of newsprint


Roll it through


Check for mistakes


That s looks a little weak.


Wipe the ink off the type, pull out the offending letters, replace them with ones that are hopefully better.


Re ink


Ready to go again


This is the fun part.


Much better!


Now, that is not exactly how Joan said it.  I have a linoleum block for that part.  What I'm trying to do is get all my type proofed.  Since these are all separate lines, it will be easy for me to separate them out on the press.

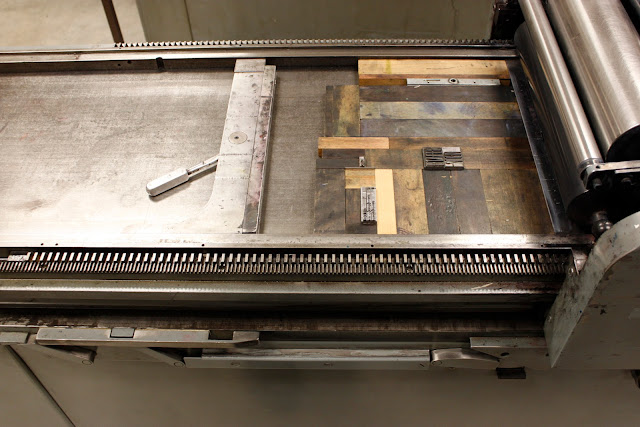
I move my type onto the press (carefully) and start measuring out what size furniture I need to fill the gaps.  The furniture comes in lengths of 10, 15, 20, 25, 30, 40, 50 and 60.  The widths come in 2, 3, 4, 5, 6, 8, and 10, so you'd better get your math skills ready.  Oh, and we're measuring in points and pikas.


It is a time consuming process.


This is basically what it looks like: me running back and forth with furniture.


Now I can add the quoin (coin), which is a metal expanding piece.


I use a removable key to crank the quoin open and push against the furniture.


Tighten the bottom and make sure none of the type can wiggle.


Ink the press


Set the rollers down and turn on the press.


Chris took a ton of pictures.  I like these because you can see the ink spread onto the rollers.


Let's hope that last video made it.